
In how to get started with PowerApps, we explained how to sign-up and get access to PowerApps. We also gave a very in-depth overview explaining what Microsoft PowerApps and Flow is the ultimate introduction to Microsoft Flow and PowerApps (you should definitely check this out as it explains both products very well via video).
In this post, I want to explain show you step-by-step how to create your very first PowerApp.
Before we start, what is PowerApps?
In our comprehensive post on “What is PowerApps Guide” we give a great overview for those of you who don’t know what it is. As a brief primer, Microsoft PowerApps was introduced to simplify the development cycle of business Apps and empower developers and business users to create custom native, mobile and web apps. it effectively allows a Power User to create apps intuitively by connecting to the cloud or On-premises data source.
In this blog, we are going to create our first app using Microsoft PowerApps service that will be consuming data from a SharePoint list and will display, update and delete the record from the App.
The following steps take you from setting up the SharePoint list and connection, to what controls, Features and Layout options you have and then finally taking a look at the functionality of the App………..So, let’s get started:
If you are looking for a great non-developers guide to PowerApps and Building Business Mobile Applications then you should check out this book ‘Beginning PowerApps: The Non-Developers Guide to Building Business Mobile Applications‘.
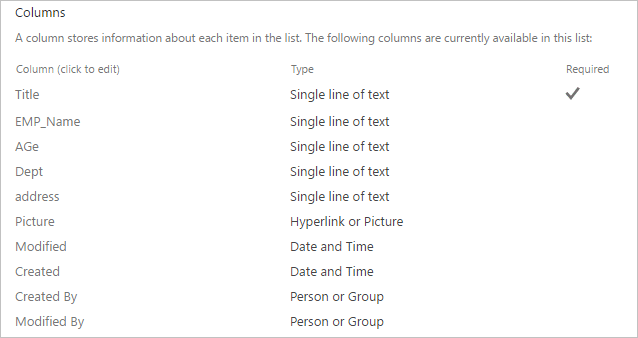
SharePoint List
A SharePoint list has been created in the SharePoint site of Office 365 with the following columns;
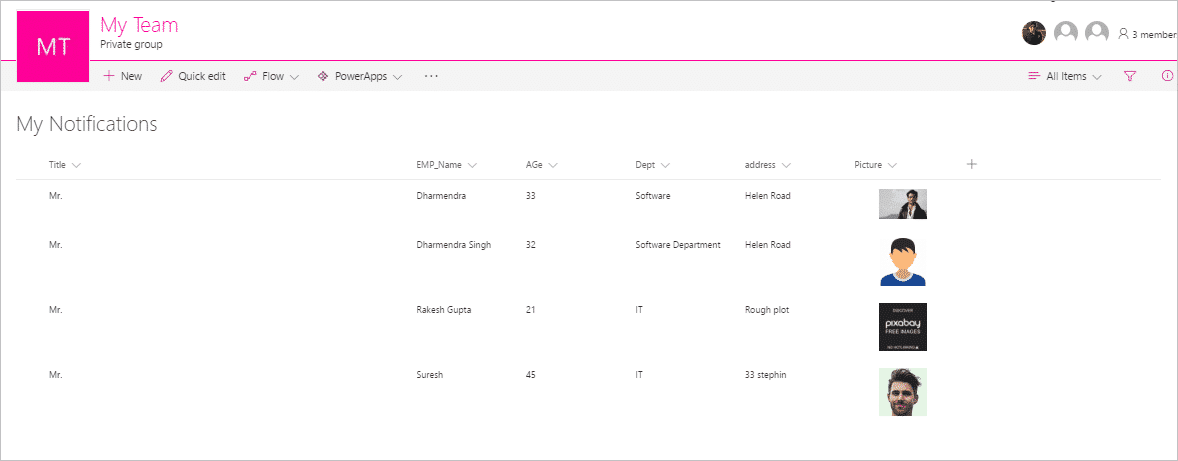
Then we have added a few records to the list that will display on the App.
Collab365 MicroJobs is now live!
- Find a Microsoft Teams Freelancer
- Looking for expert help with Office 365?
- Earn Money in your spare time: Sign up as a Collab365 MicroJobs Freelancer.
Initial App Setup and Connection
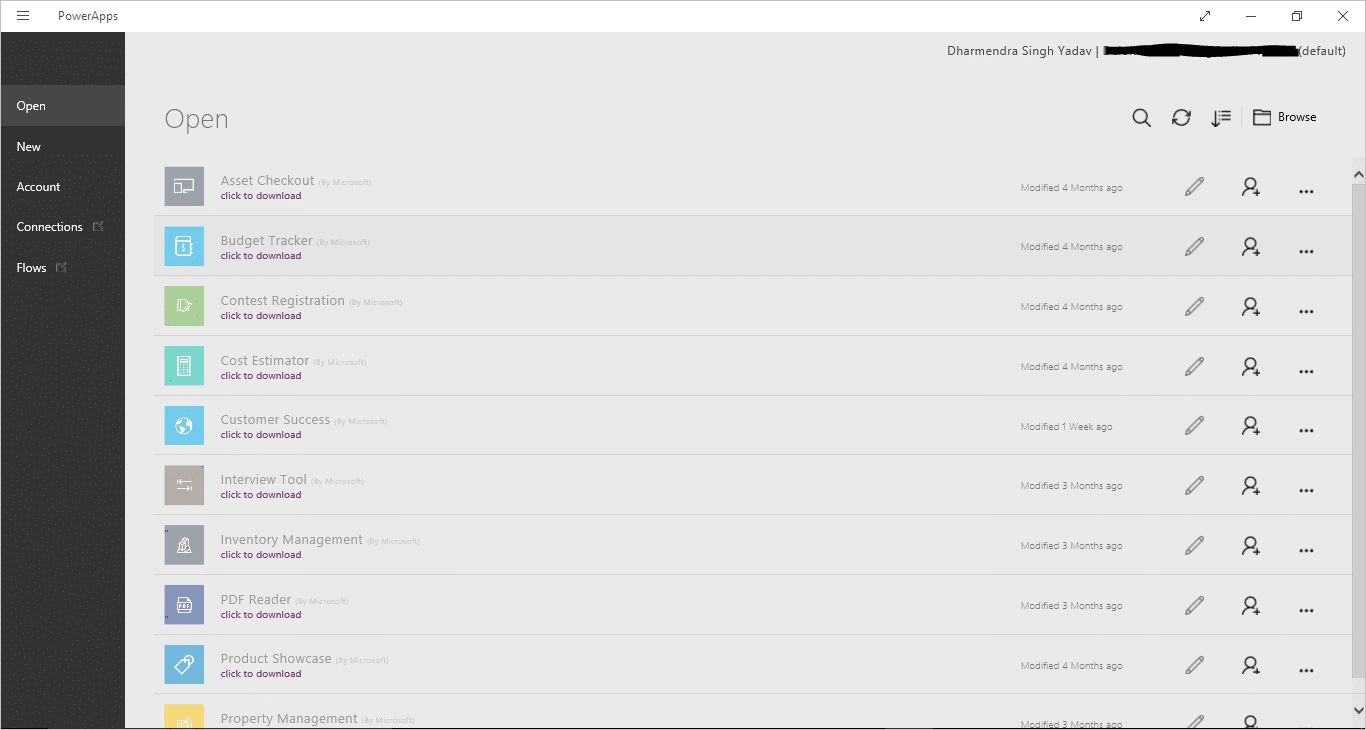
So firstly open and signup in PowerApps studio as depicted in below screen.
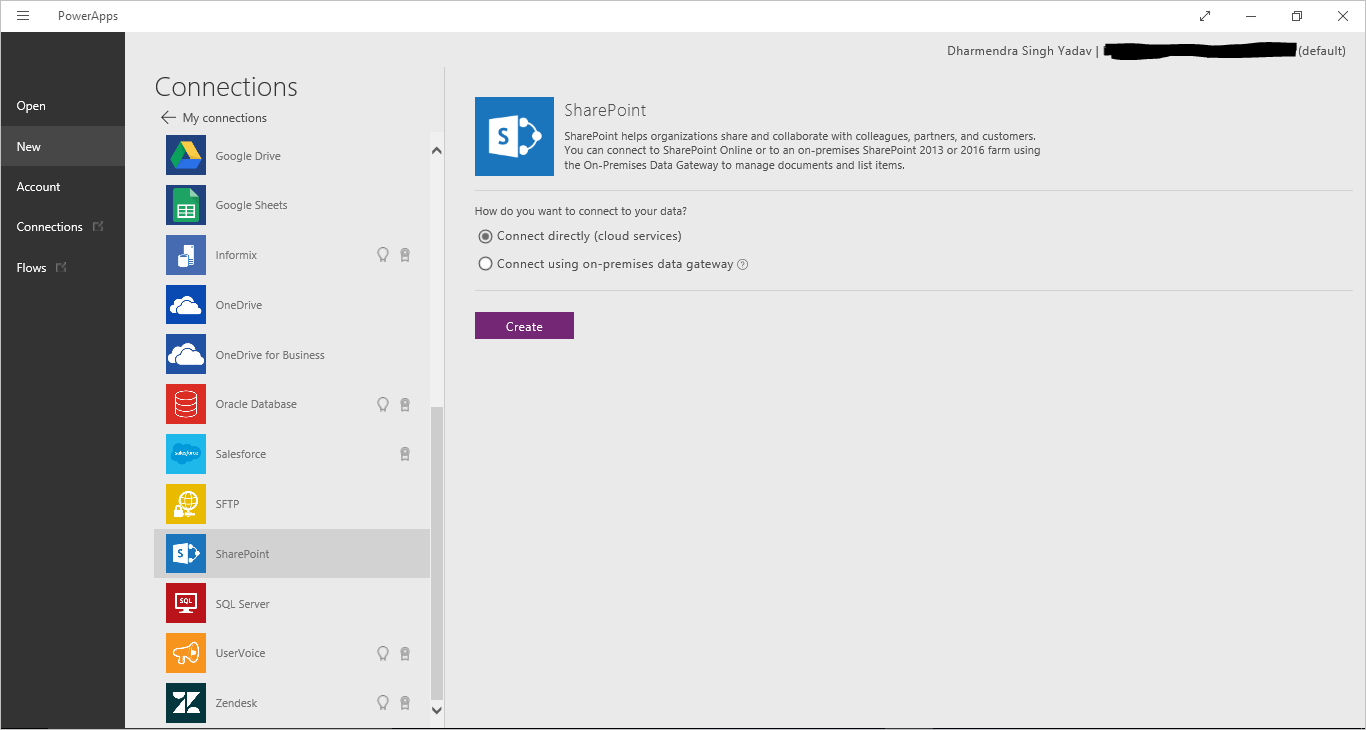
Click on the new menu. Here you can select the layout template and data source for your app. If you don’t find any suitable data source you can choose a blank app template and build it all from scratch. For this purpose, we are selecting SharePoint.
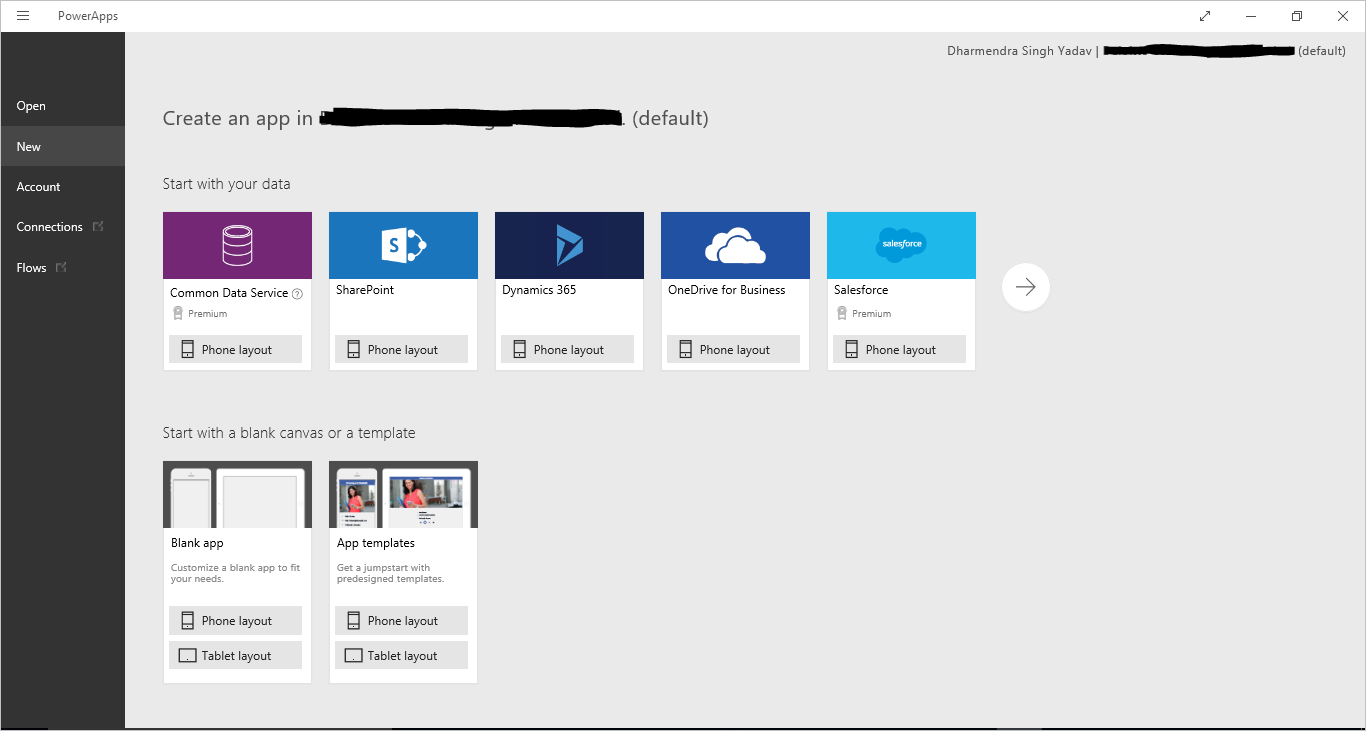
You will then get two options for your data source. For this example, I have selected “Connect directly (Cloud Services)” option and click on Create button to move forward
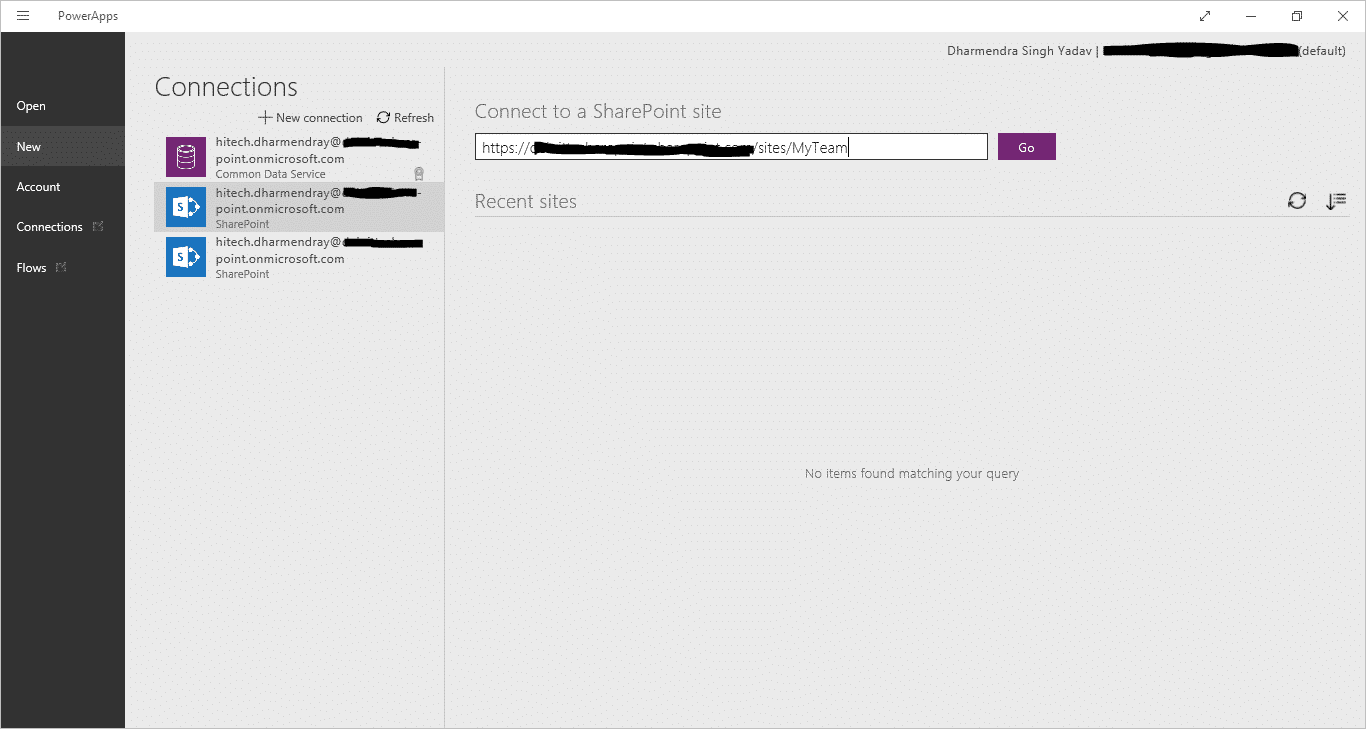
You then need to provide the SharePoint URL to get the data from the respective list and click ‘Go’
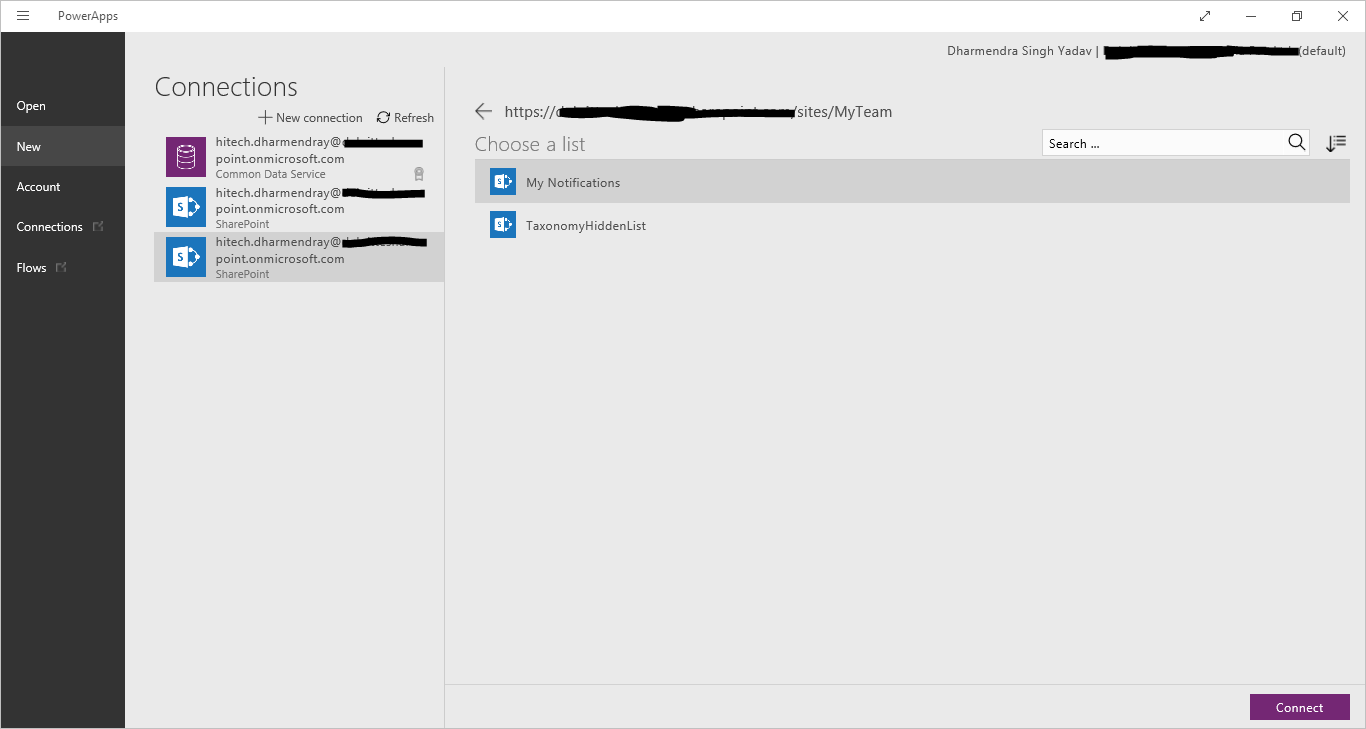
You should now be presented with all the lists of the SharePoint site you entered. Here you can select the list that you want to connect as the data source for your App.
Click on “Connect” button on the bottom right corner the screen.
On to the PowerApp Builder
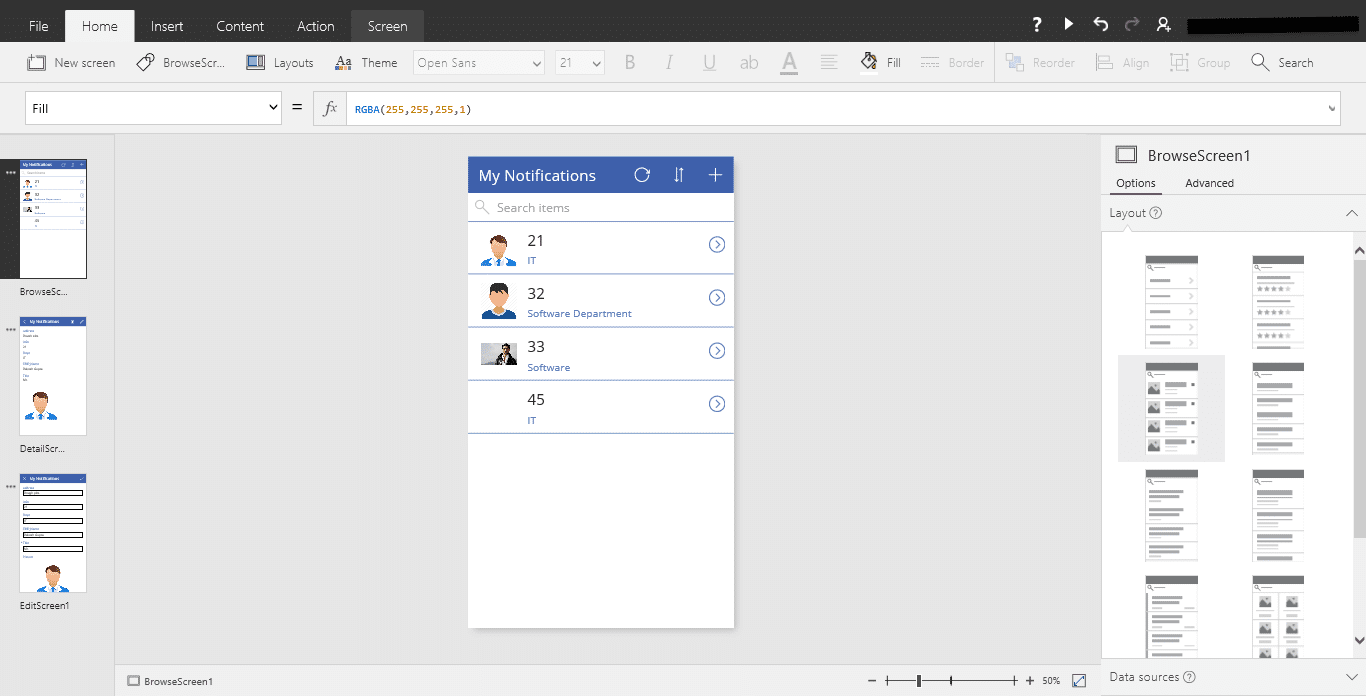
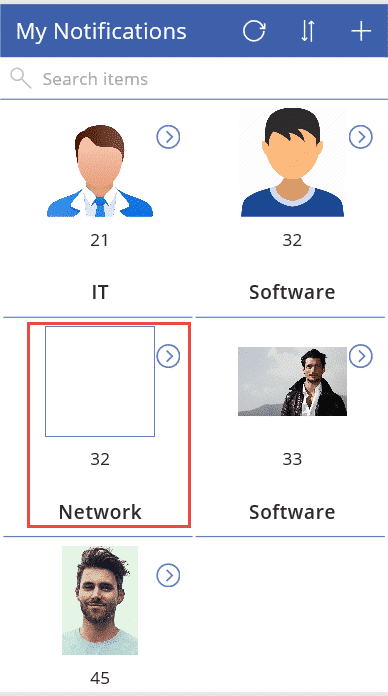
Now into the App, we can see a window with list data showing. At this stage, there is a useful “quick tour” window to help you get started, always worth a look.
This screen is divided into three parts with provisioned tools. with the screens available on the left, the main designer area, where you modify your forms in the middle and on the right some templates to help with your App creation.
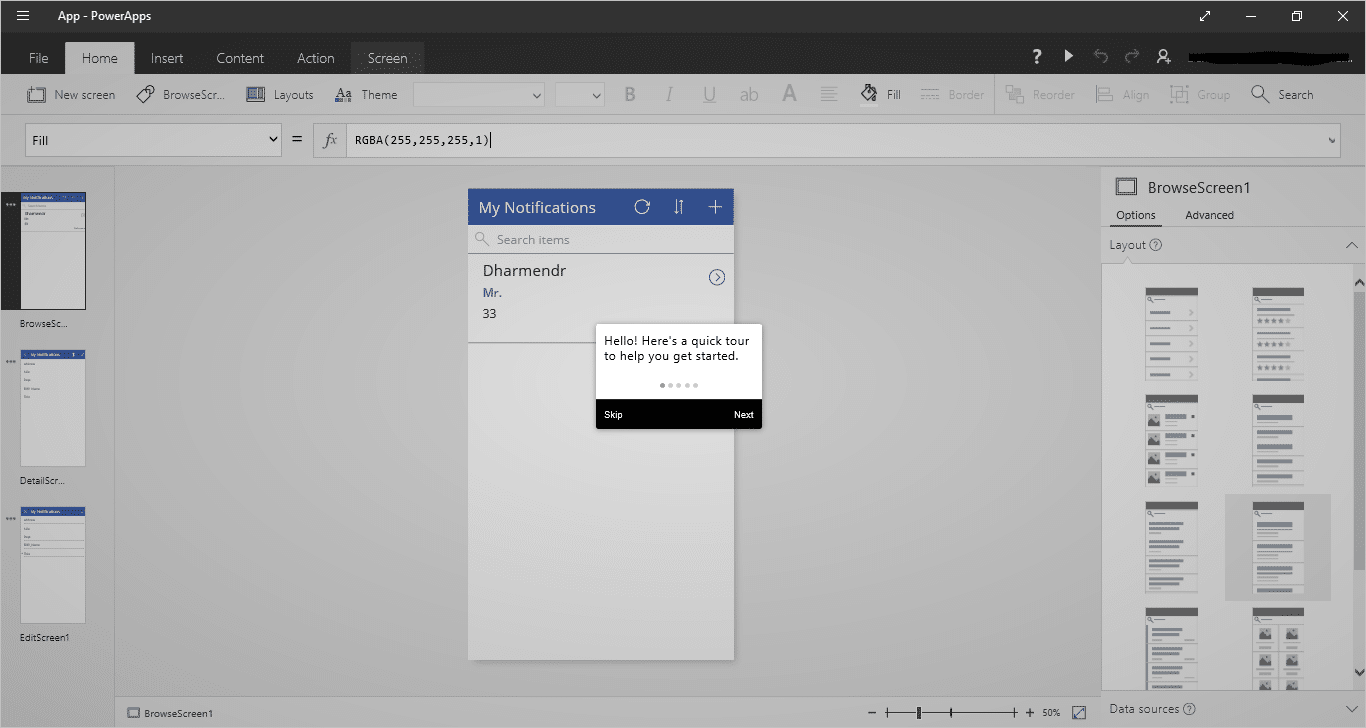
In the left-hand panel, you can use the 3 dots (…) to create New, Duplicate or Delete existing or Move screen positions up or down.
Let’s Customize Our App
You can customize your screen using the available controls in the toolbar coupled with the advanced properties in the right-side panel. So we want to customize our title, the order of the fields, and look at a few other bits.
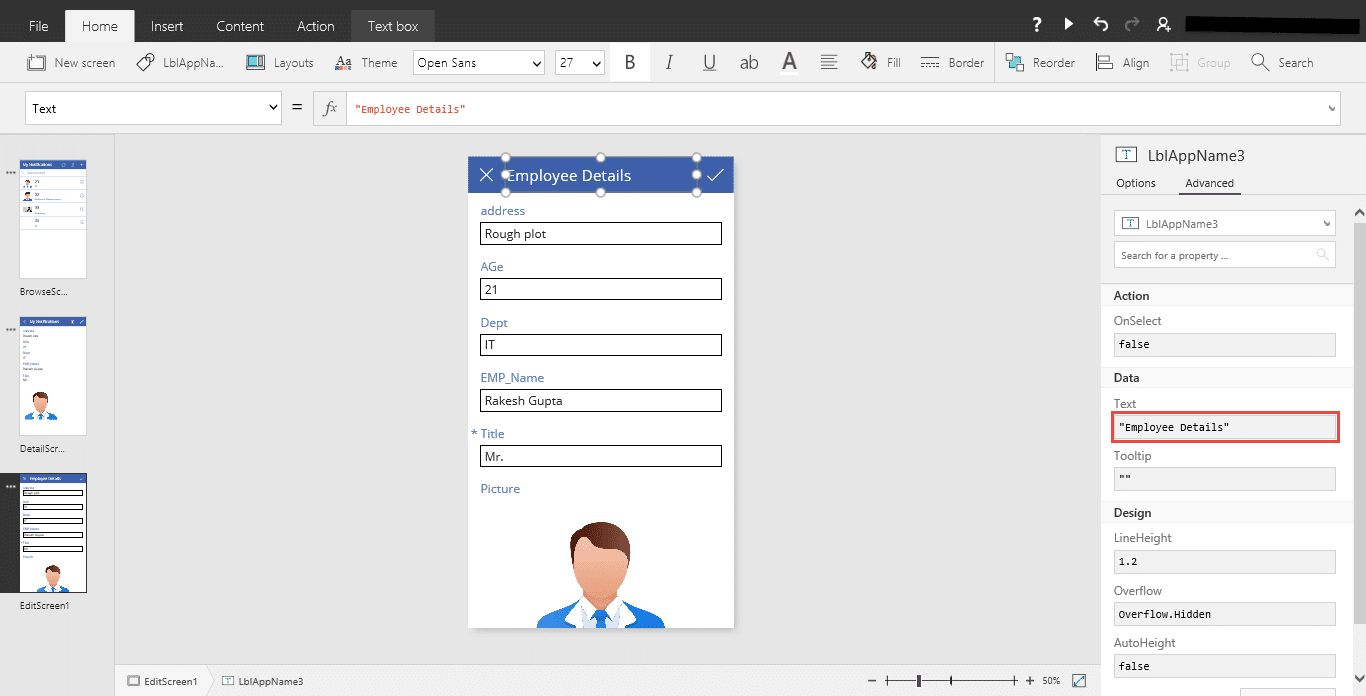
Title – to change this screen title, you need to select it and go to the advanced setting in the right side of the screen as you can see below for our Edit Screen.
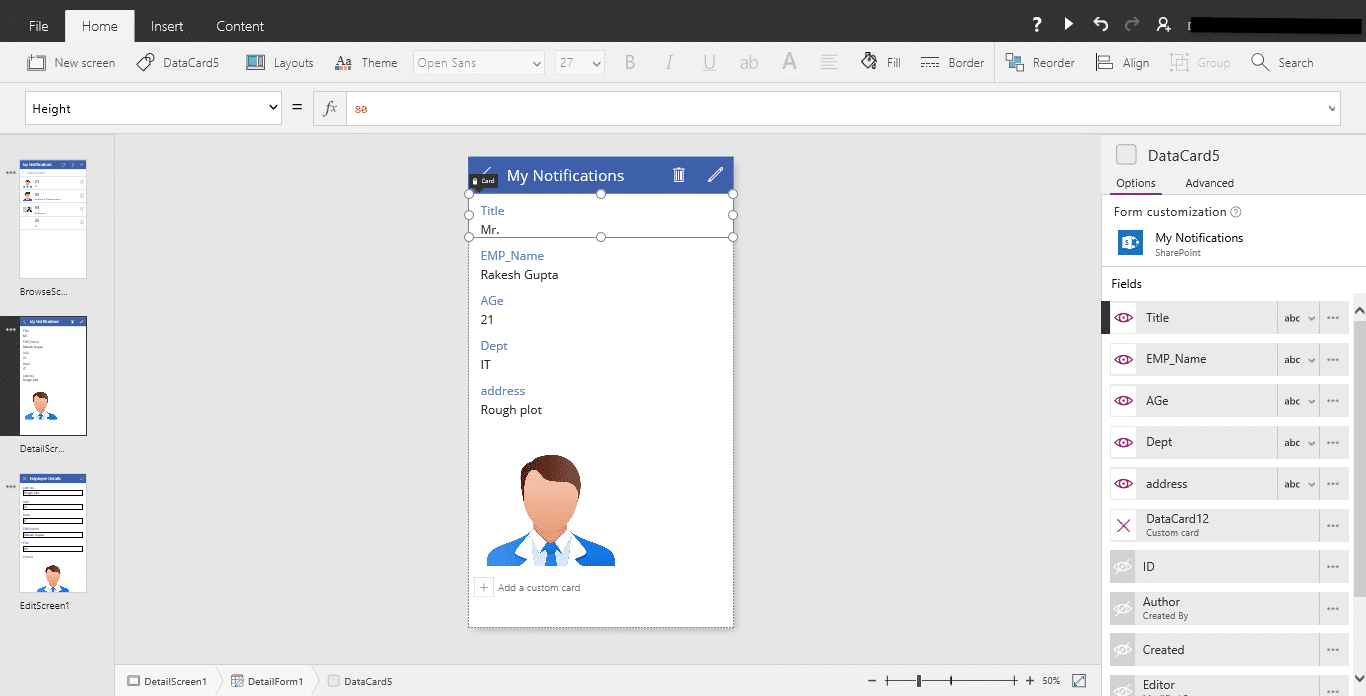
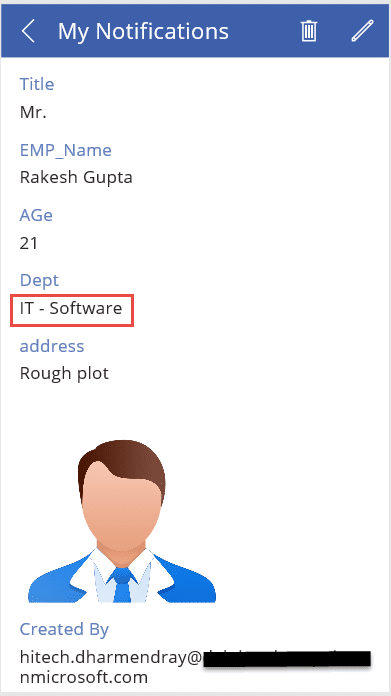
Order of our fields – Similarly you can change the order of the fields by organizing data source fields in the desired sequence in the right-hand section.
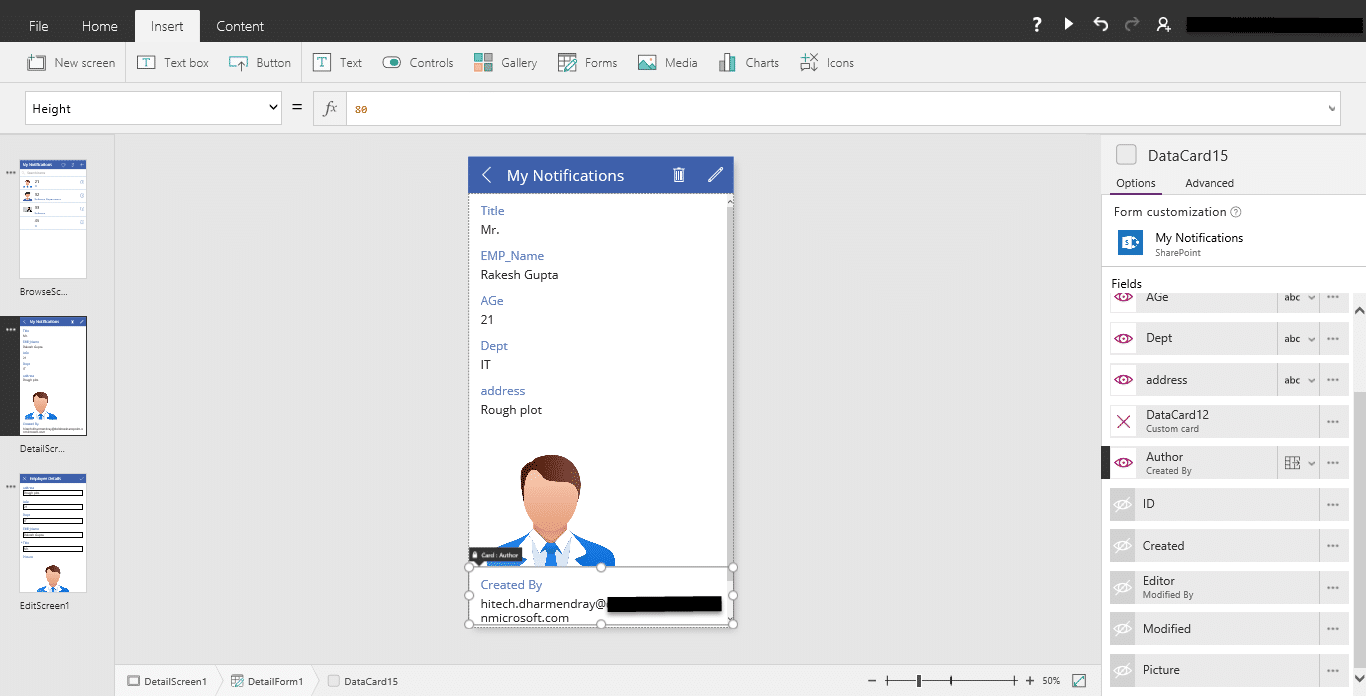
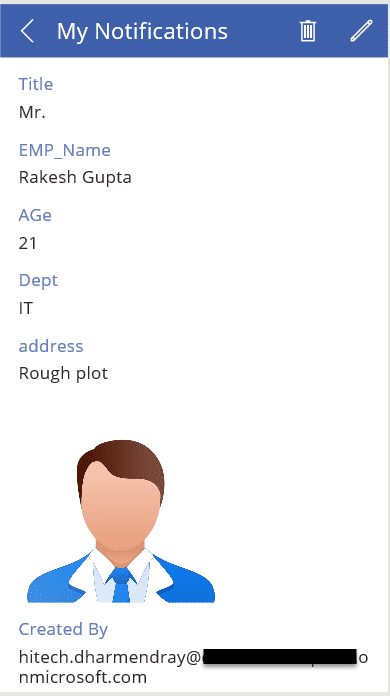
Add a custom Card – using this option by clicking the ‘+’ you can bind fields from your data source to show on the screen. For example, we have added ‘Created by’ field on the screen in the below screenshot
Other Customization Available
To give richness in both functionalities and look and feel there are many options worth taking a look at. Here are some to consider:
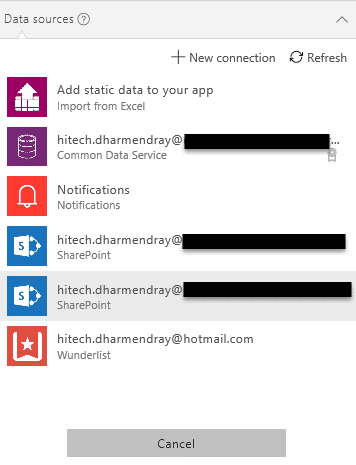
Data Sources – You can connect your application with multiple data sources like SharePoint lists, Excel, Common data service, etc.
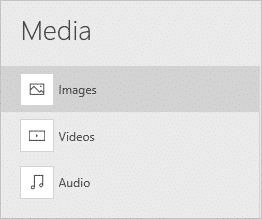
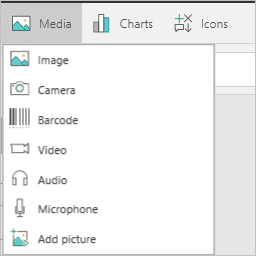
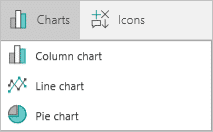
Images – You can add image/video/audio files. Also, you can integrate a Camera, Barcode reader, Audio, etc. into your app.
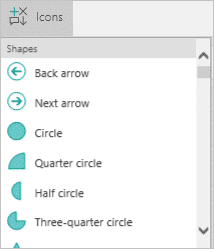
Icons – You can use a variety of Icons in your applications.
Search – You will see that you have a Search box added on the first browse screen by default however this can be updated to widen the Search functionality by updating the ‘Item’ property formula of the ‘BrowesGallary’ container, this is the data container for the records on the first browse screen.
Some great further details can be found in this Microsoft post on Filter, Search, and Lookup Functions in PowerApps
Formula – As you can see with the example of Search above, there are many ways to use Formulas within the properties of your App Controls to really customize and improve you Apps functionality, all without having to write true code. Here is a good introduction to Formulas to get you started – Explore Formulas in PowerApps
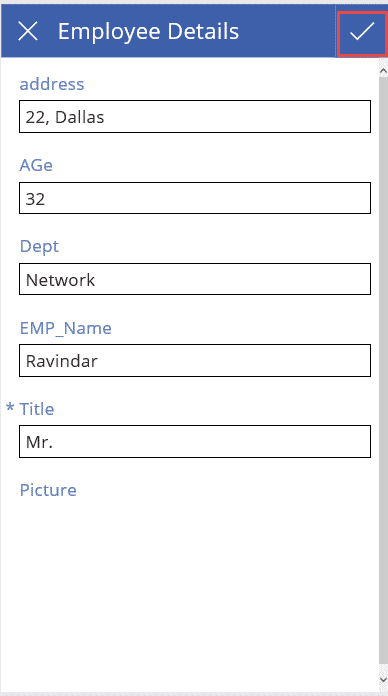
Time to Test and Save the App
So you are done with your UI changes and customization you can now run your app, by pressing the Play button at the top right of the screen and checking it works correctly. Once you are happy with the App you can then save it on the cloud or your local computer for future use.
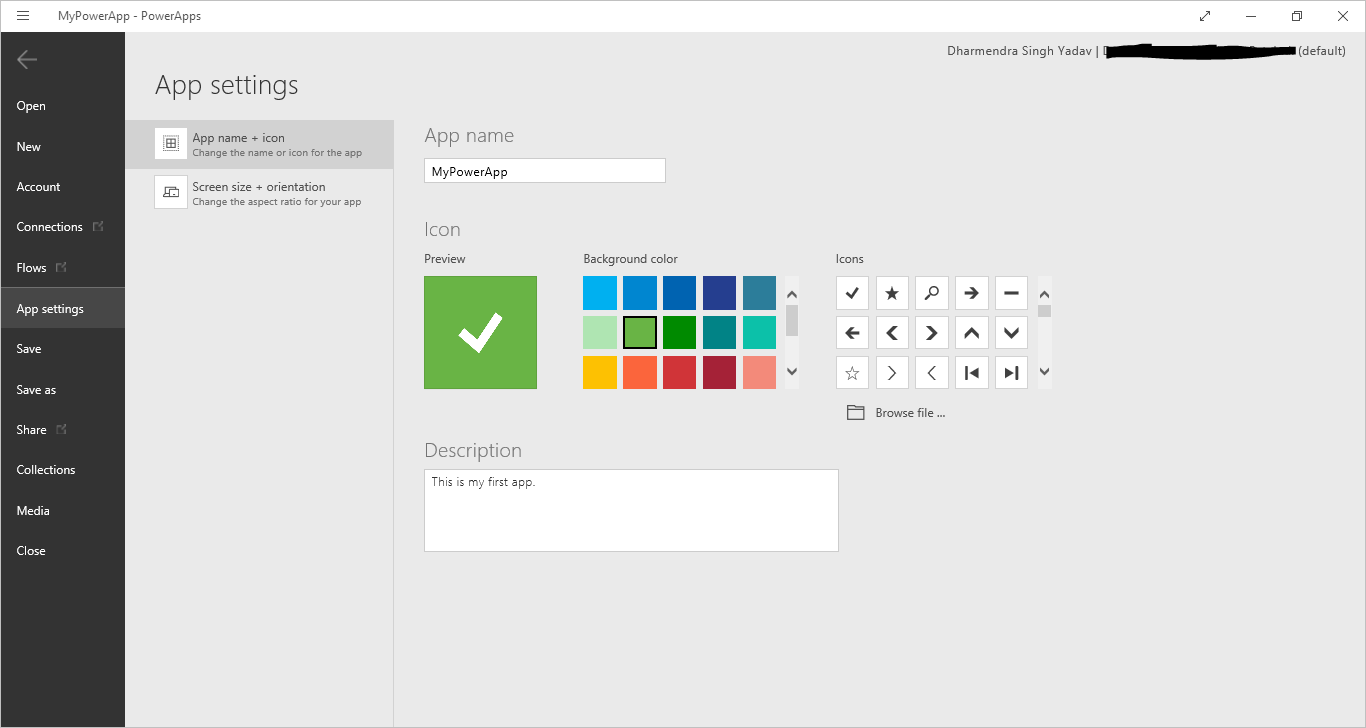
On the File Menu from the builder, go to App Settings and configure the elements on the screen to your liking.
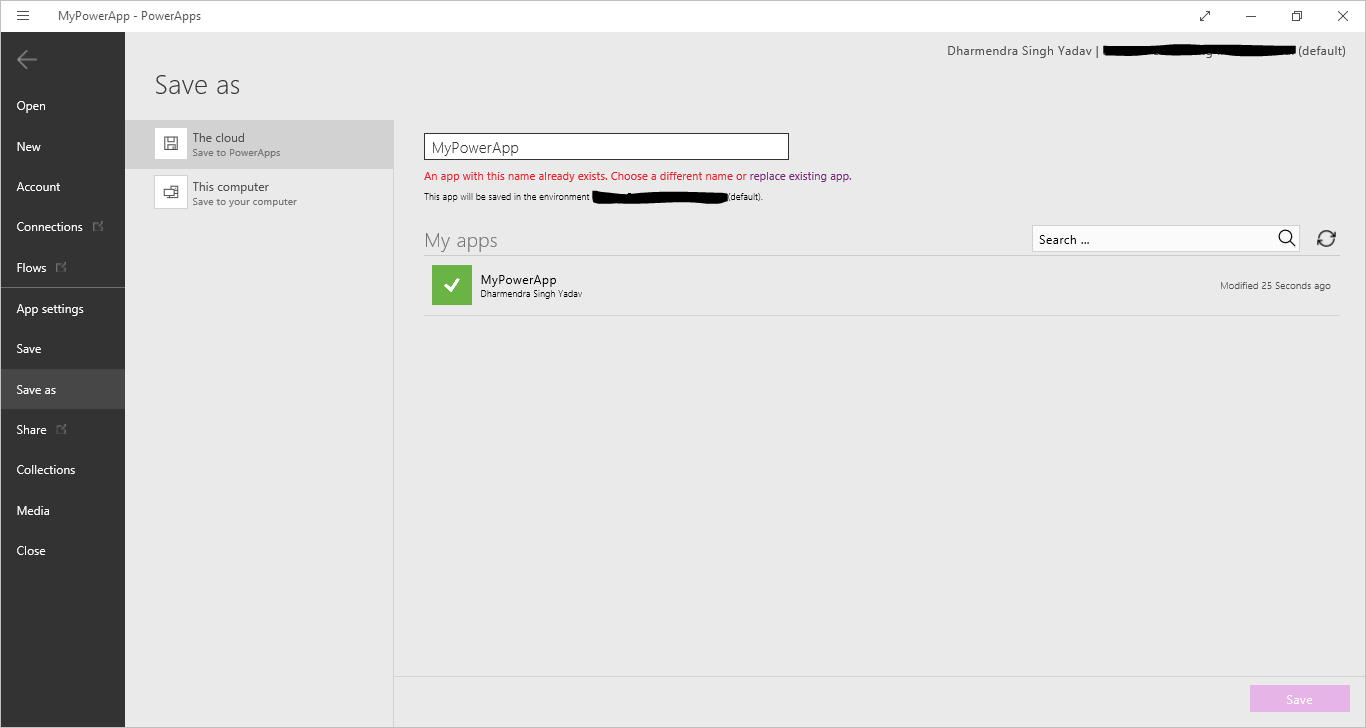
As with all Microsoft Products then click on ‘Save As‘ and Choose your “save location” and click “save”. As you would expect you can’t have two apps with the same name stored in the same location.
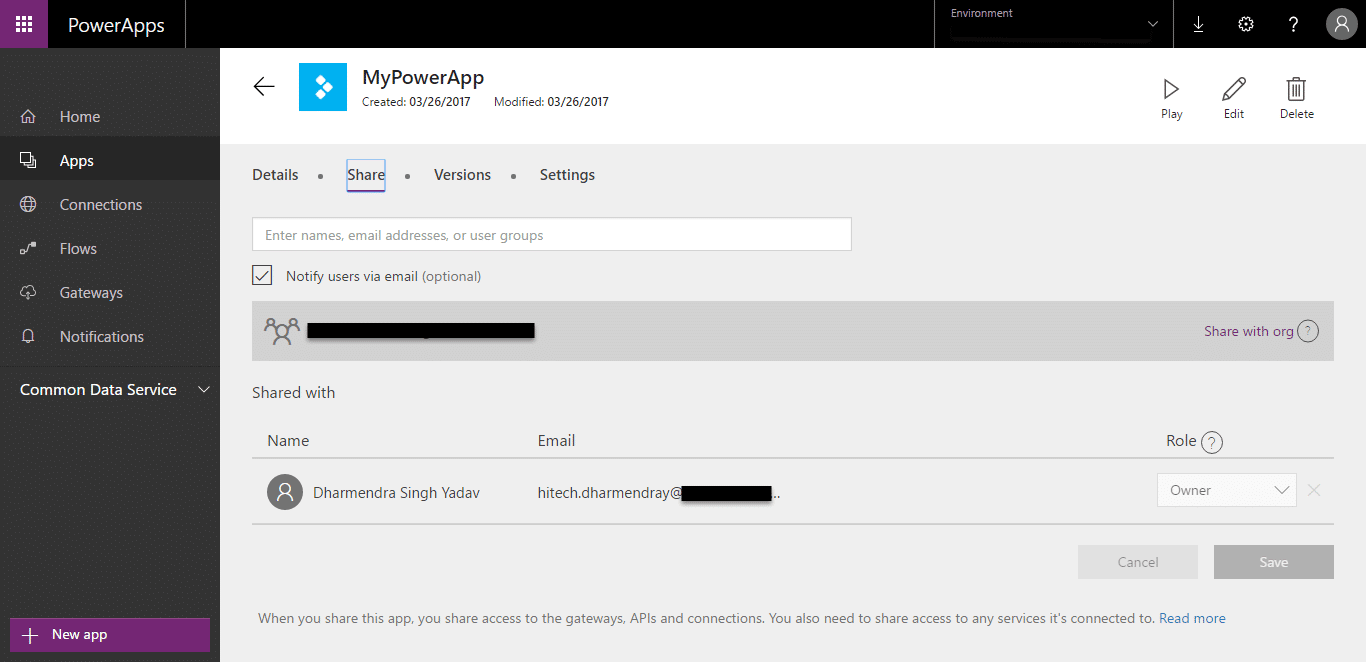
Now we have our new PowerApp and it will appear in the Apps menu with your other PowerApps. Here you can view details, share, update settings, and Run or Edit the app.
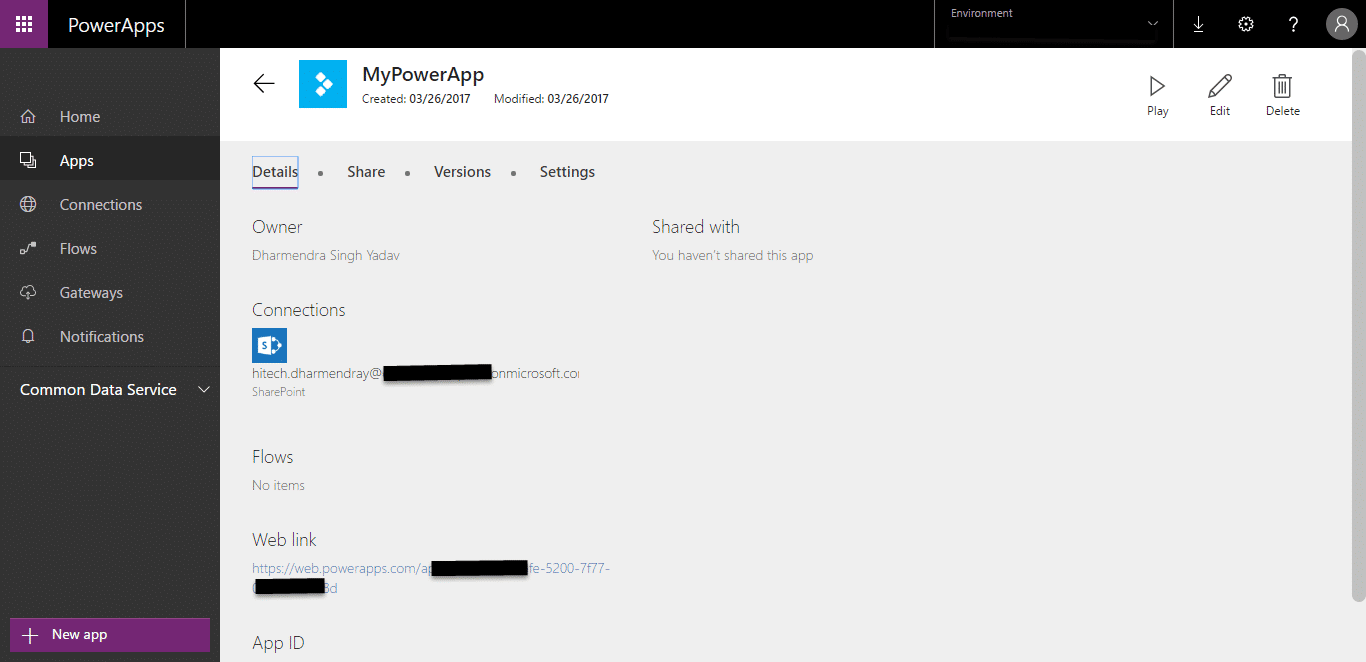
The Share tab of the screen allows you to share your App by providing Names, Email and user groups name.
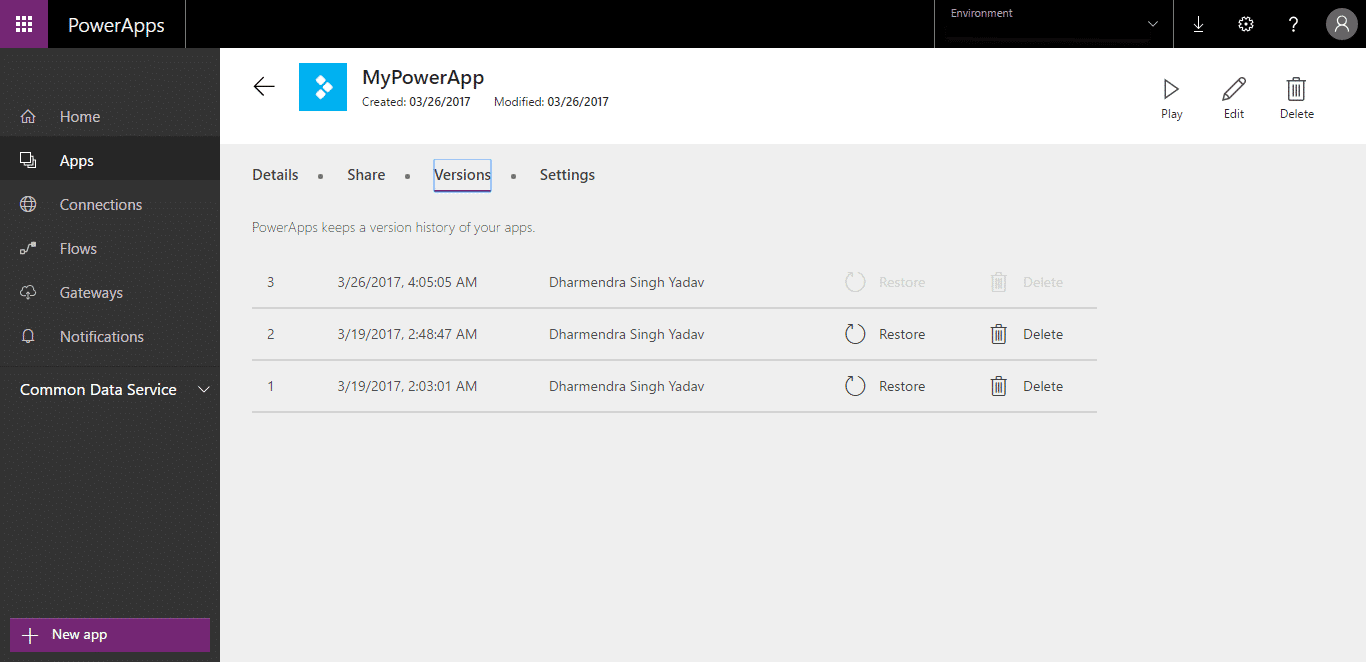
Using the Versions tab, you can check all your previous versions of the App and can restore from the Versions tab of the Apps settings
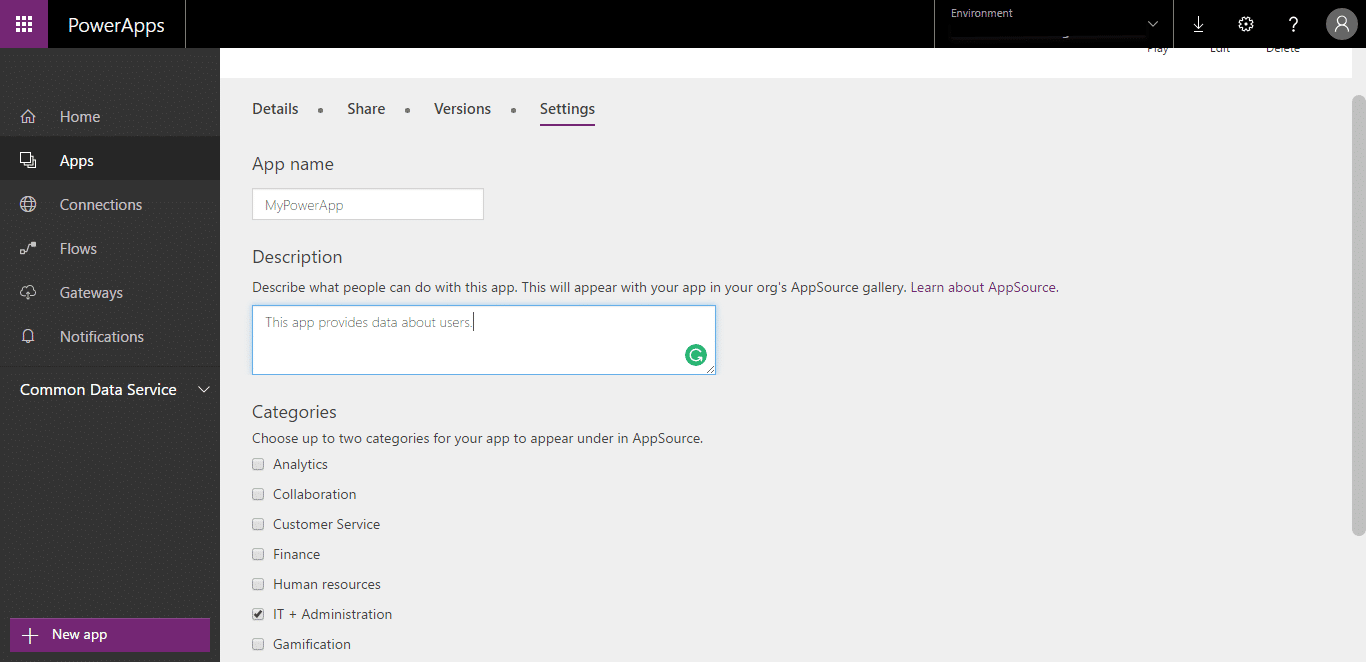
The Settings tab allows you to provide a description for your App. Also, you can set the category for your App.
At this stage, you’re done with your app and it should work properly on iOS, android and windows devices.
Now, you have learned some basics about PowerApps it’s time to start exploring and creating some great Apps for yourself and your team.
Keep reading and learning
Thank you!!
